Contact Sheet
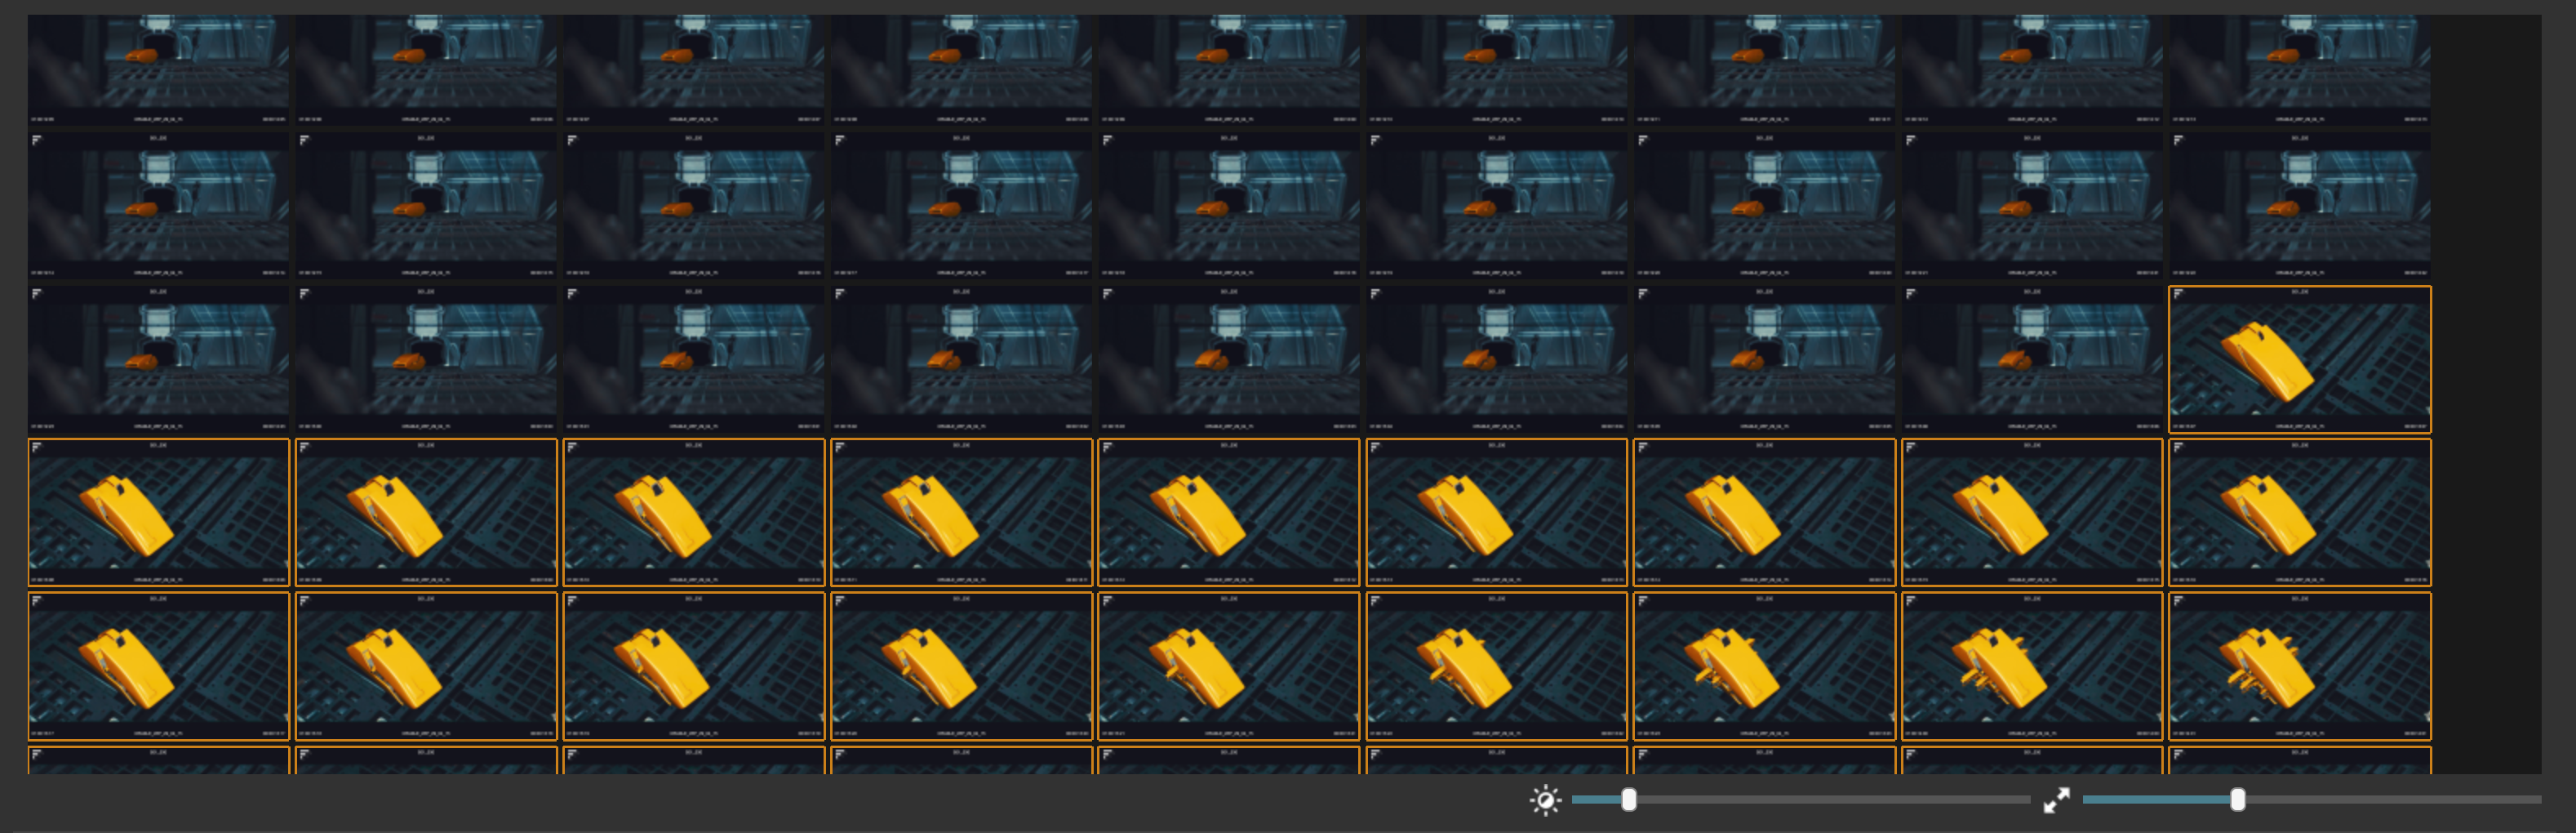
When pressing the "Find Missing Cuts" button, the UI switches to Contact Sheet Mode mode.
In this mode all frames of the currently selected shot are shown, so that it is easy to quickly spot a cut that was missed
by the auto-detection.
To add a cut, simply click on the frame that should be the first frame of a new shot and hit C.
The graph view is now zoomed in to only draw spikes for the current shot. This helps to quicly find missed cuts within the shot bound.
A small graph map is shown above the main Spike Graph to provide an overview where the current shot is located within the globla frame range.
The sliders under the contact sheet view allow for adjusting the brightness and size of the displayed frames.
Use hotkeys to change the selected shot and thus the displayed frame set:
Page Up and Page Down to move the shot selection in the table up or down
In Contact Sheet Mode the arrow keys drive the selected frame (orange outline)
Up and Down select the frame aboe or below the current selection
Left and Right select the previoud/next frame
Use ` to toggle between graph and Contact Sheet Mode.